Art:

Paper Steam Shovel
Supplies:
- Scissors
- Glue Sticks
- Brads
- Crayons or Markers
- Worksheet(you can find it here.
Directions:
- Print on card stock 1 worksheet for each student (you can find it here).
- Your students can cut out each item. Straight lines are a good opportunity for your students who are learning to cut. I would cut the curved lines ahead of time.
- Students can color with crayons or markers on their steam shovel.
- Connect each part of the shovel with a brad and glue the body of the steam shovel onto the front cover of your folder book.
- Print out the title “Mike Mulligan and His Steam Shovel” and glue to the folderbook.
Create Art like an Illustrator
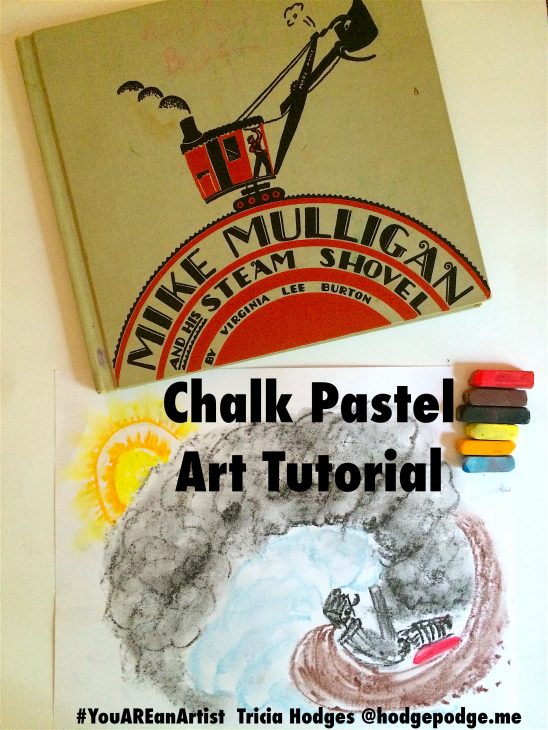
I love this website! The author helps children and sometimes adults to feel good about their finished product. Each illustrator uses different techniques and its a lot of fun to learn new ways to make a picture. In Mike Mulligan and His Steam Shovel for example the student makes a beautiful picture through scribbling and rubbing 🙂 Access the directions here.
Language:
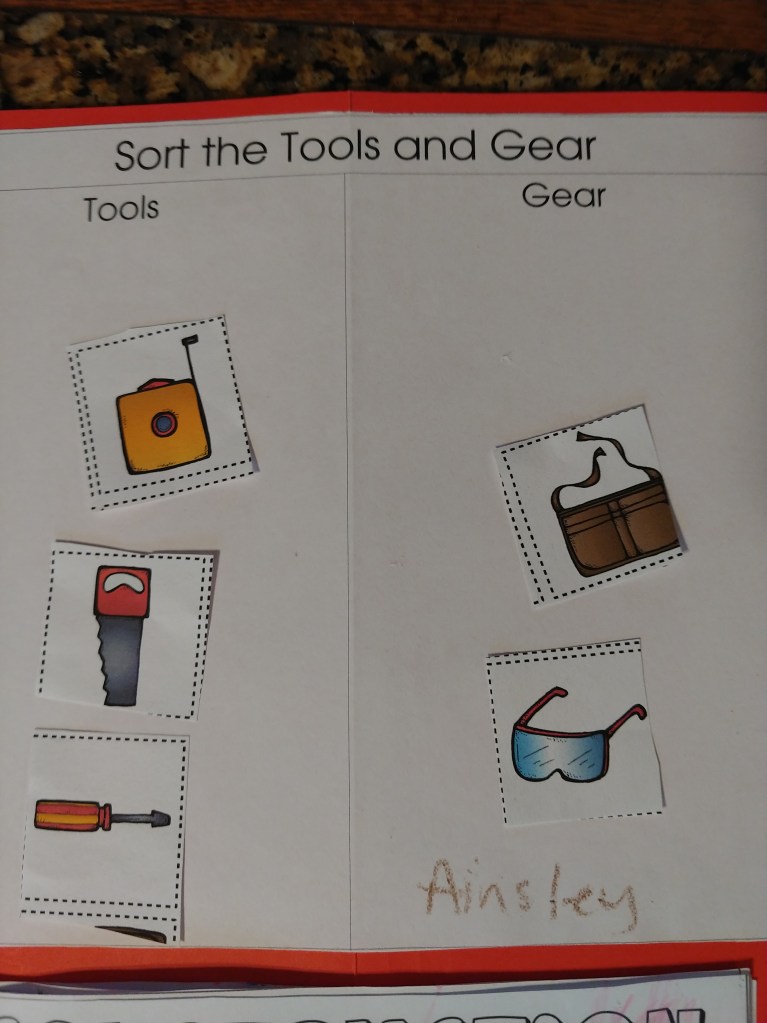
Categorizing
Supplies:
- Scissors
- Glue Sticks
- Crayons or Markers
- Worksheet(you can find it here).
Directions:
- Print 2 worksheets for each student(you can find it here).
- Your students can cut out each item. Straight lines are a good opportunity for your students who are learning to cut.
- Talk about each item and how the workers use them.
- Glue the “Sort Tools and Gear” page to the folderbook.
- Have students sort the Tools from the Gear and glue on the columns on the Tools and Gear page. You can also look in sale fliers to find more pictures to put on your worksheet.

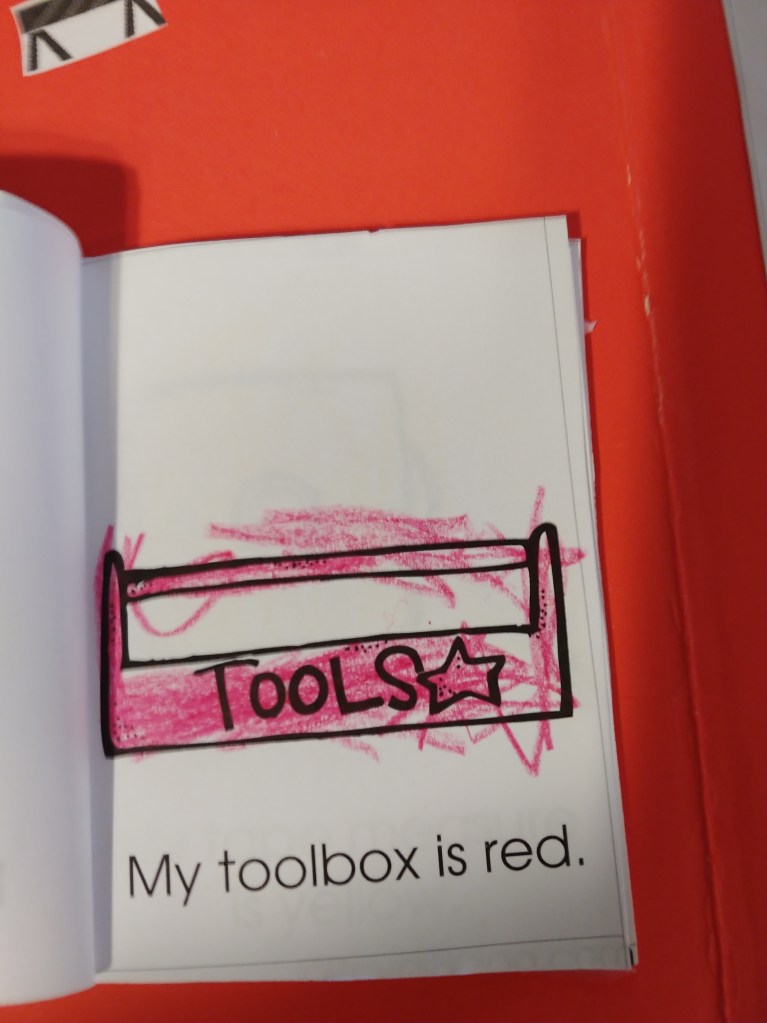
Colors
Supplies:
- Scissors
- Glue Sticks
- Crayons or Markers
- Worksheet, you can find it here.
Directions:
- Print a worksheet for each student(you can find it here).
- Cut out each page and staple it into a book.
- Read the color’s name on the bottom of each page. Practice hearing the begining sounds of each color or for older students practice reading and spelling the colors.
- Read outloud what it says on the bottom of each page. Ask the students to find the color in the crayon box and then color each tool.
- Use glue sticks to glue it to the last page to the folder book.
Science
Mike Mulligan and His Steam Shovel Activities
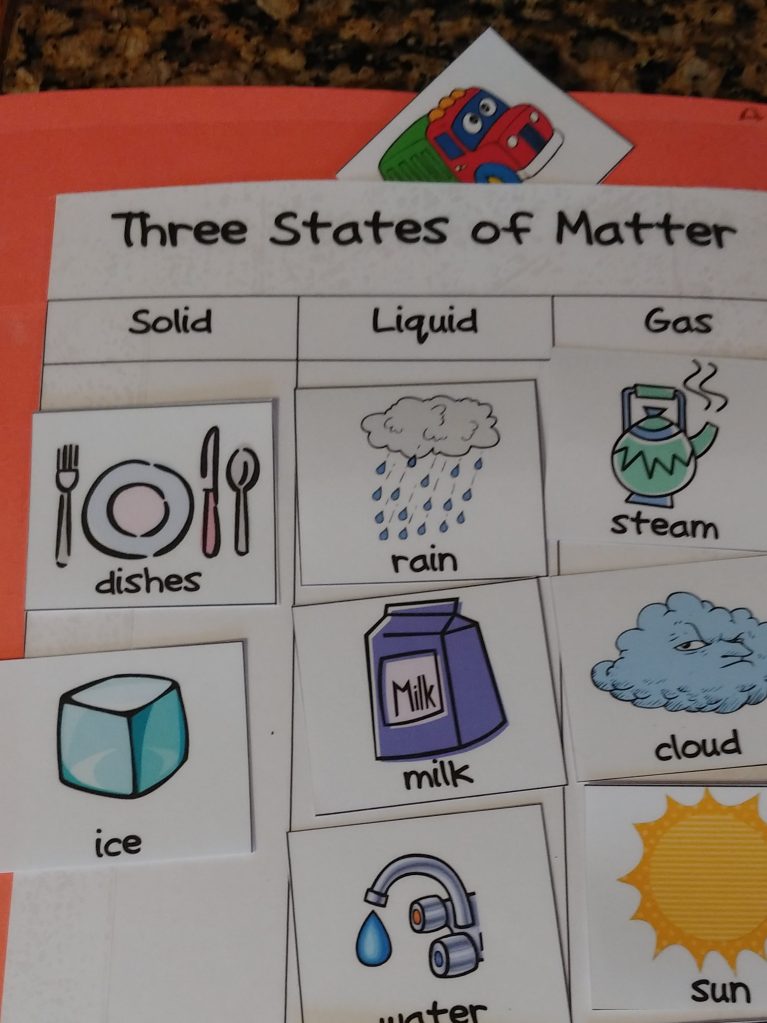
Three States of Matter
Supplies:
- Scissors
- Glue Sticks
- Stapler
- Laminator(Optional)
- Clear Packing Tape
- Print 2 Worksheets on Cardstock, you can find it here.
Directions:
- Print 2 worksheets on cardstock for each student(you can find it here).
- Laminate the worksheets.
- Cut out each page.
- Staple, tape(packing tape) the Three States of Matter to the back of your folder book.
- Leave the top of the page open for storing the square cards you cut out from the 2nd worksheet.
- This is a great way to review the 3 States of Matter after you have explore some experiments and read books about it.
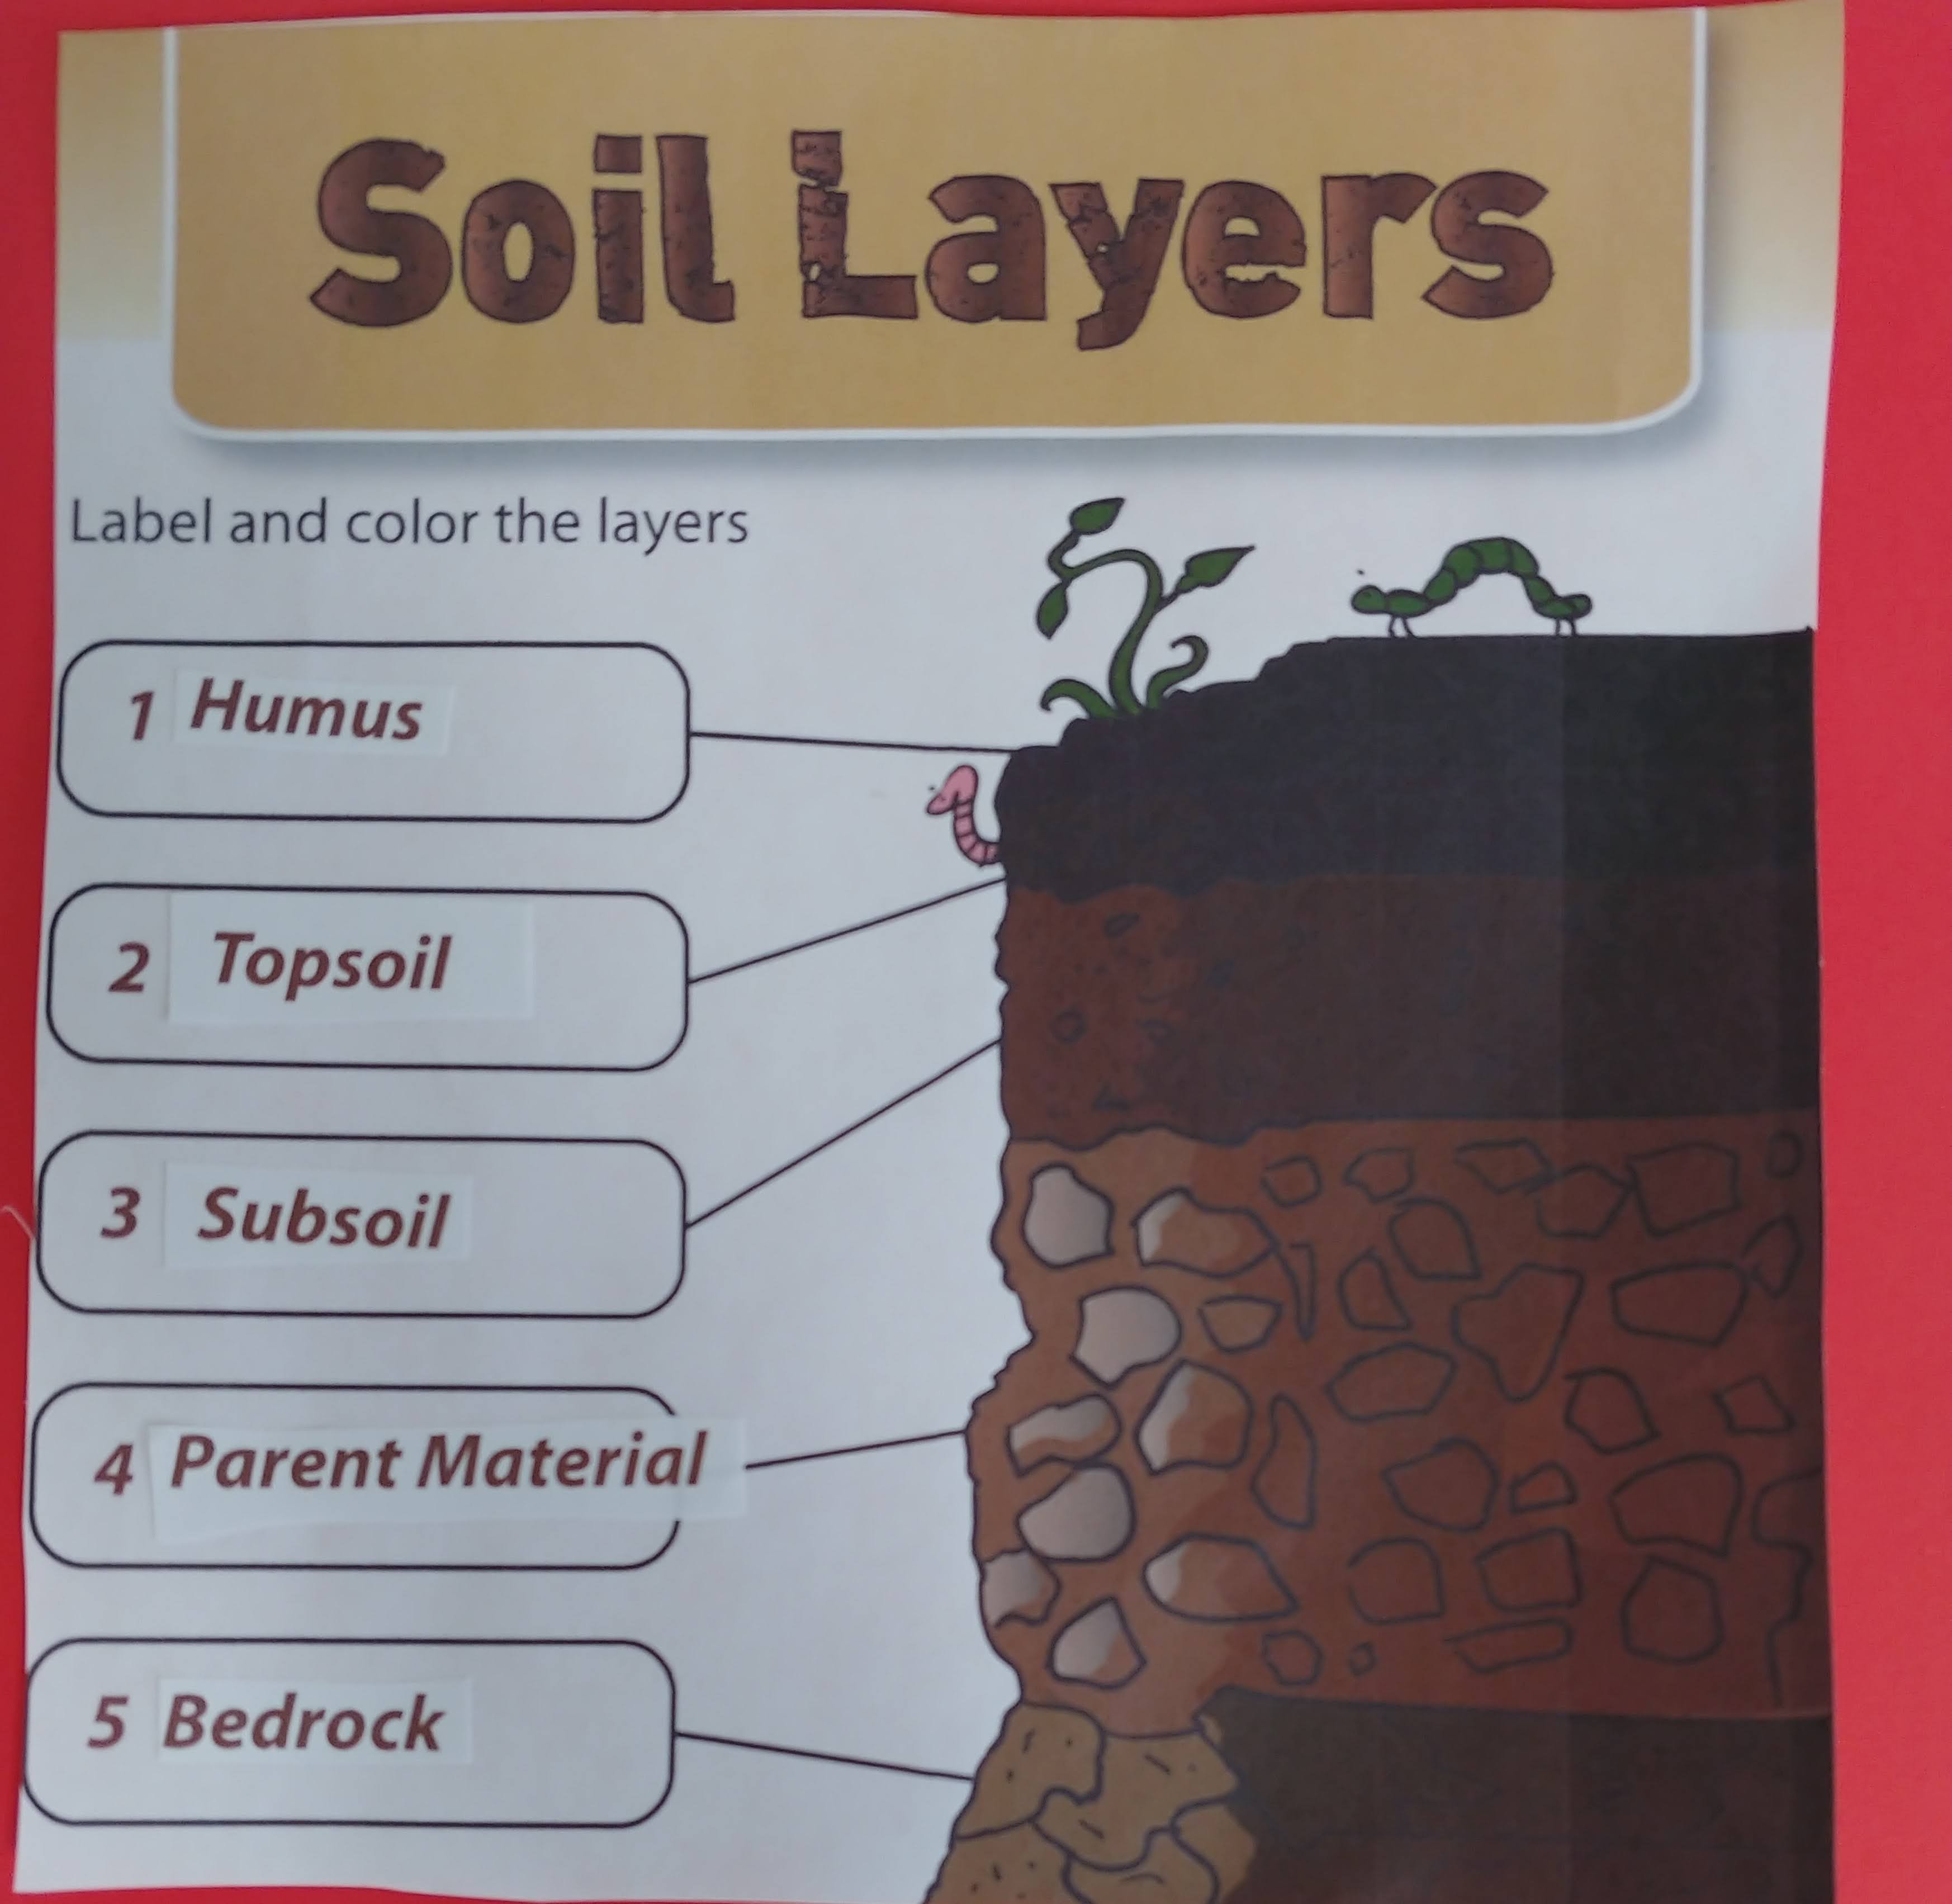
Soil Layers
Supplies:
- Scissors
- Glue Sticks
- Print a Worksheet for each student, you can find it here.
Directions:
- Print 2 worksheets on cardstock for each student(you can find it here)
- Cut out each page and each lable for the soil layer worksheet.
- Help your student discover the layers of soil. When they dig in the ground what do they see? Visit a gravel pit. and/or Get some books on soil at the library.
- Glue the name of the each layer on the worksheet.
- Glue the completed worksheet to their folderbooks.
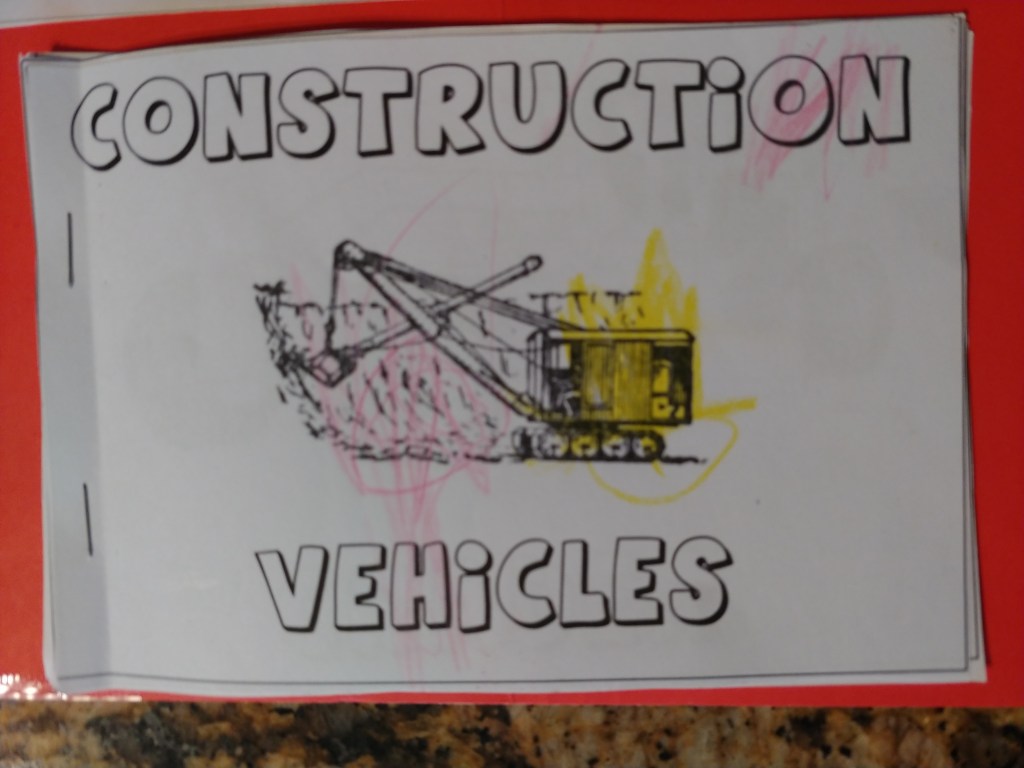
Construction Vehicles
Supplies:
- Scissors
- Glue Sticks
- Print a Worksheet for each student, you can find it here.
Directions:
- Print 5 worksheets on cardstock for each student(you can find it here)
- Cut out each construction vehicle page and staple the book together.
- Talk about the different construction vehicles while your students are coloring them.
- Glue the last page of their construction vehicle book to their folderbooks.

Types of Energy
Supplies:
- Scissors
- Glue Sticks
- Print a Worksheet for each student, you can find it here.
Directions:
- Print a worksheet for each student (you can find it here).
- Cut out each energy type picture and the 2 peices of the booklet.
- Glue the 2 pieces of the booklet together. When dry fold the booklet on the solid lines.
- Talk about the different types of energy while students are glueing them onto their Types of Energy booklet.
- Glue the last page of theirTypes of Energy book to their folderbooks.
Skills

- Try out an animated movie of Mike Mulligan and His Steam Shovel, here. It’s very sweet and stays true to the text.
2. Here is a video for an older student to learn about how steam engines were invented and how they work, Here
3. How does a steam engine work? Here’s a great video for a preschooler – 3rd grade to watch and learn about how steam engines work.
4. Try some experiments with energy. Hop on over to Hooplakidzlab on YouTube to get some ideas for experiments you can do with younger children.
5. If you have a student who is ready for writing and/or beginning reading you can get some worksheets here. If your students resists approach it as an art project. Be positive about each of your students work. Most students don’t have the ability to write until they are 4 1/2 or even older.
